Create this easy DIY chalkboard for your kids playroom wall!
This is a sponsored post written by me on behalf of FrogTape®. All opinions are 100% mine.
Coloring with chalk is one of our go-to quiet time activities and the kids spend a lot of time in their playroom. They love to create and draw but a standing chalkboard easel takes up so much space!
Small Closet Playroom
In our large bonus room I created a small playroom just for the tots to play in. Using a walk in closet space it was the perfect place for all of the toys that only she plays with. The only thing missing was a chalkboard for her to color and create freely.
The only problem, there just wasn’t enough room in the small space playroom to add another piece of furniture. This meant a standing chalkboard easel was out of the question.
I decided that instead of adding another toy to the room I would instead create chalkboard on the wall of the playroom.
This way, she would always have a place to color and create but it wouldn’t take up any extra room in her small closet playroom.
DIY Chalkboard
This DIY chalkboard for the kids playroom was so easy to add that I think I’ll be putting them up in a few other places in the house too!
How easy was it you ask? Well to start, all I needed was three things to make this DIY Chalkboard for the wall -FrogTape® brand painters tape, a small sponge roller, and chalkboard paint.
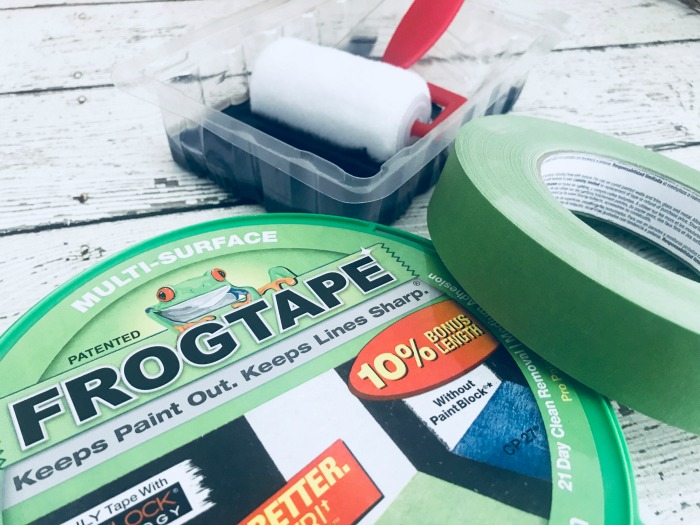
FrogTape® is the ultimate resource when creating anything with paint on your walls – including my DIY Chalkboard. It is the only painting tape treated with patented PaintBlock® Technology. This PaintBlock® technology is the reason you’re able to get crisp, clean lines every time. PaintBlock® reacts with the water in latex paint and instantly gels to form a barrier against paint bleed so you know when you pull the paint off your lines will be sharp.
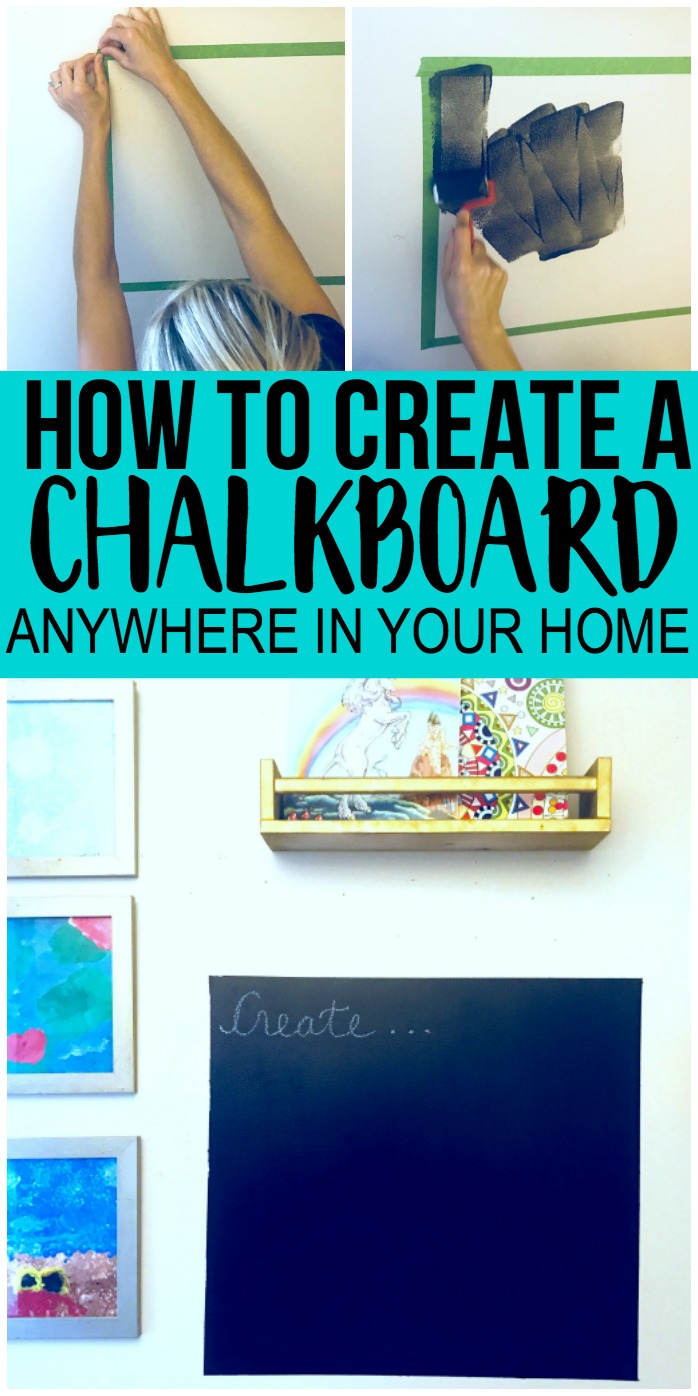
The process to create your DIY chalkboard is really simple. You first need to start by marking off your surface with the Frog Tape.
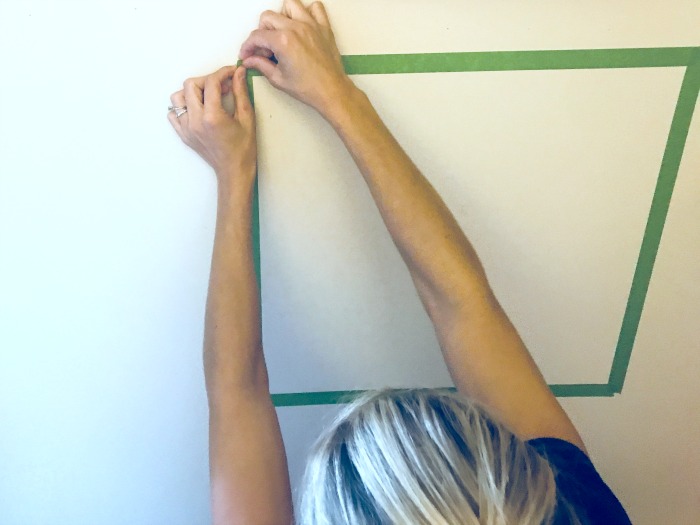
Use a small roller brush and chalkboard paint to fill in the surface between the tape. I used three coats to make sure the surface is full covered, allowing each coat to set in between. You just want the paint to set a few minutes, not dry completely, before adding each coat.
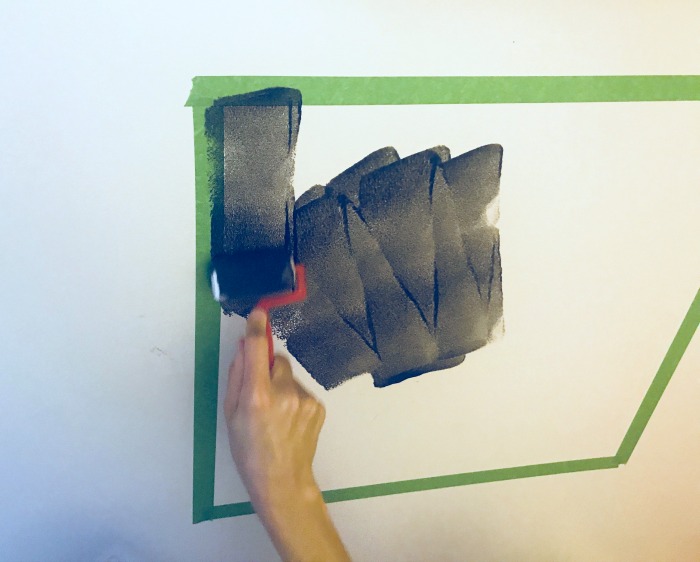
Don’t be afraid to paint right on to the Frog Tape! It’s there to make your project easy – making sure the lines stay sharp when you pull the tape off.
When you’ve painted the entire surface, with as many coats as you’ve needed, peel off your tape. Do not let the paint dry first, you want to peel your tape while the paint is still wet.
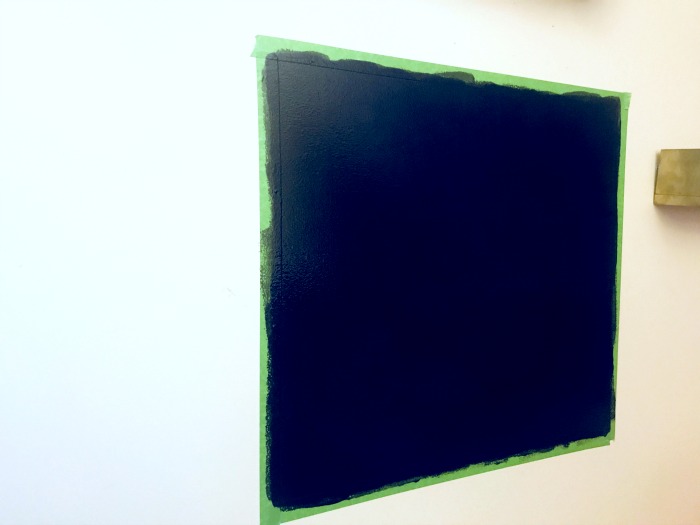
After you’ve peeled off the tape, allow the paint to dry completely 24 hrs.
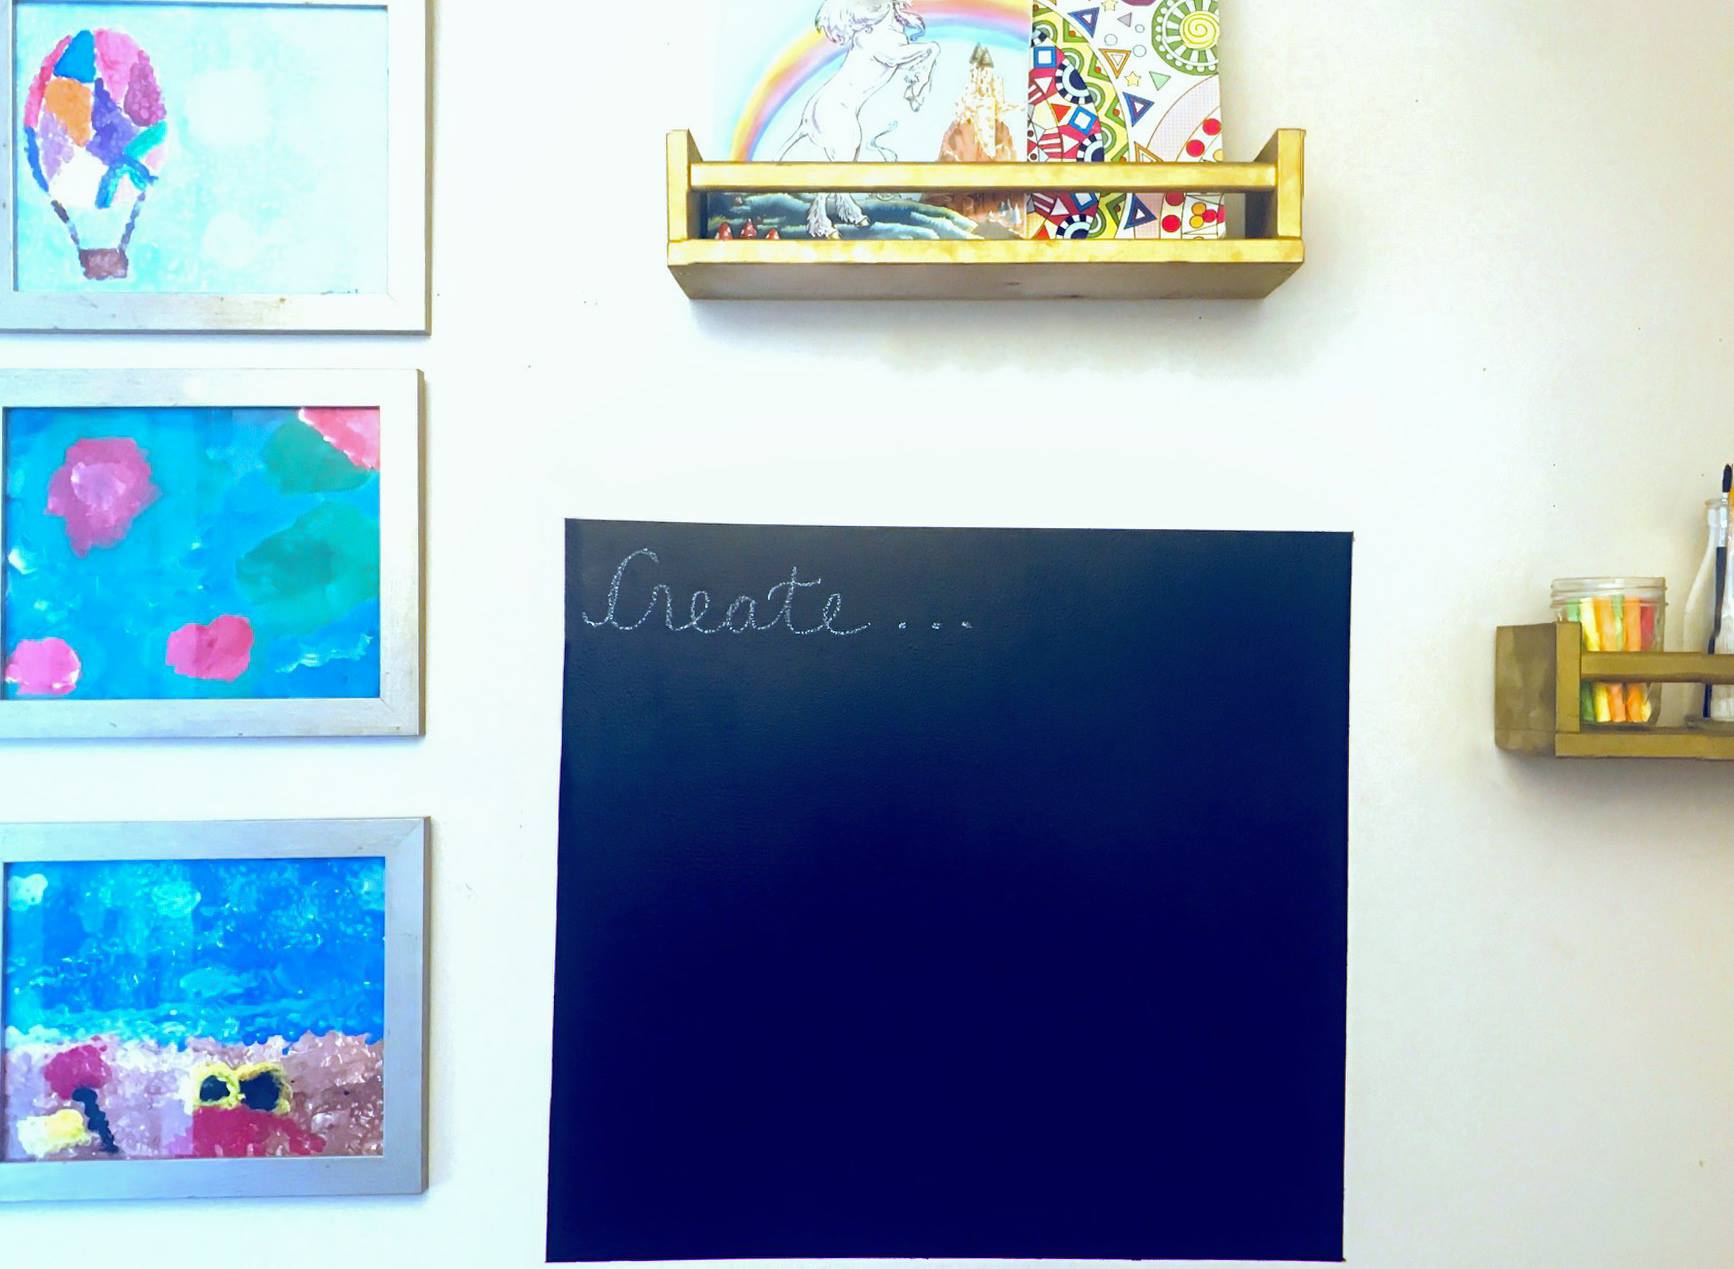
Finish off your DIY chalkboard wall with some of your child’s artwork and shelves to hold supplies!
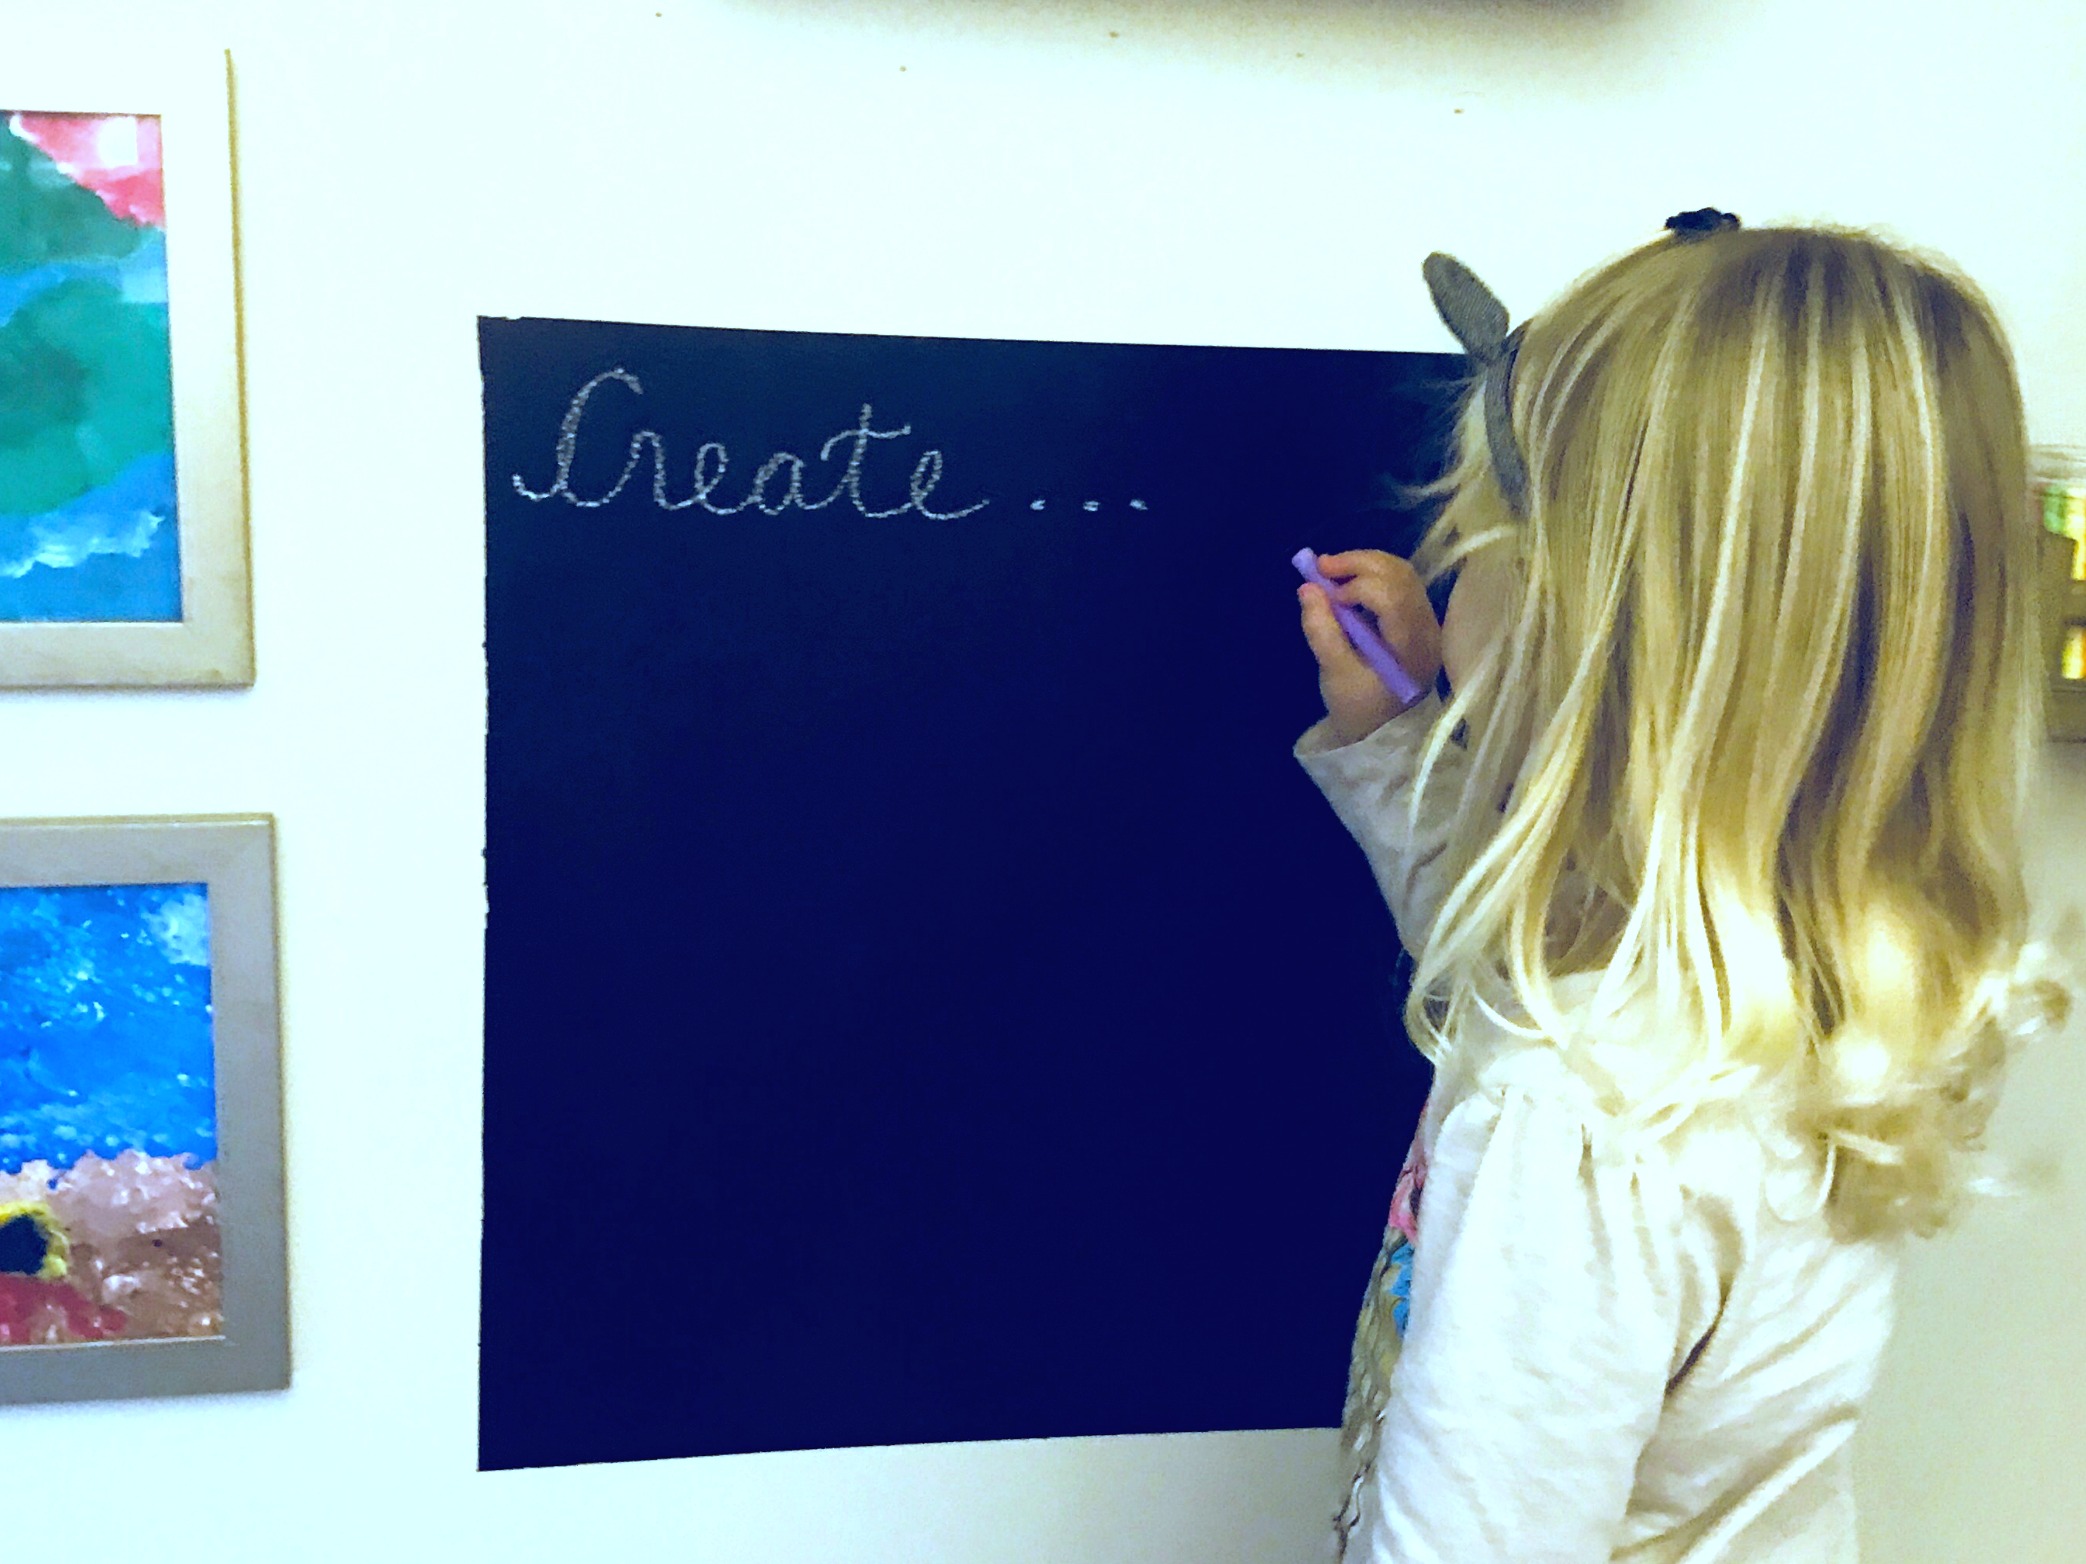
I really loved how easy it was to create this project – now I want to create chalkboard walls all over my house!

Leave a Reply