Complete the Farmhouse Christmas look in your home with a Ladder Tree!
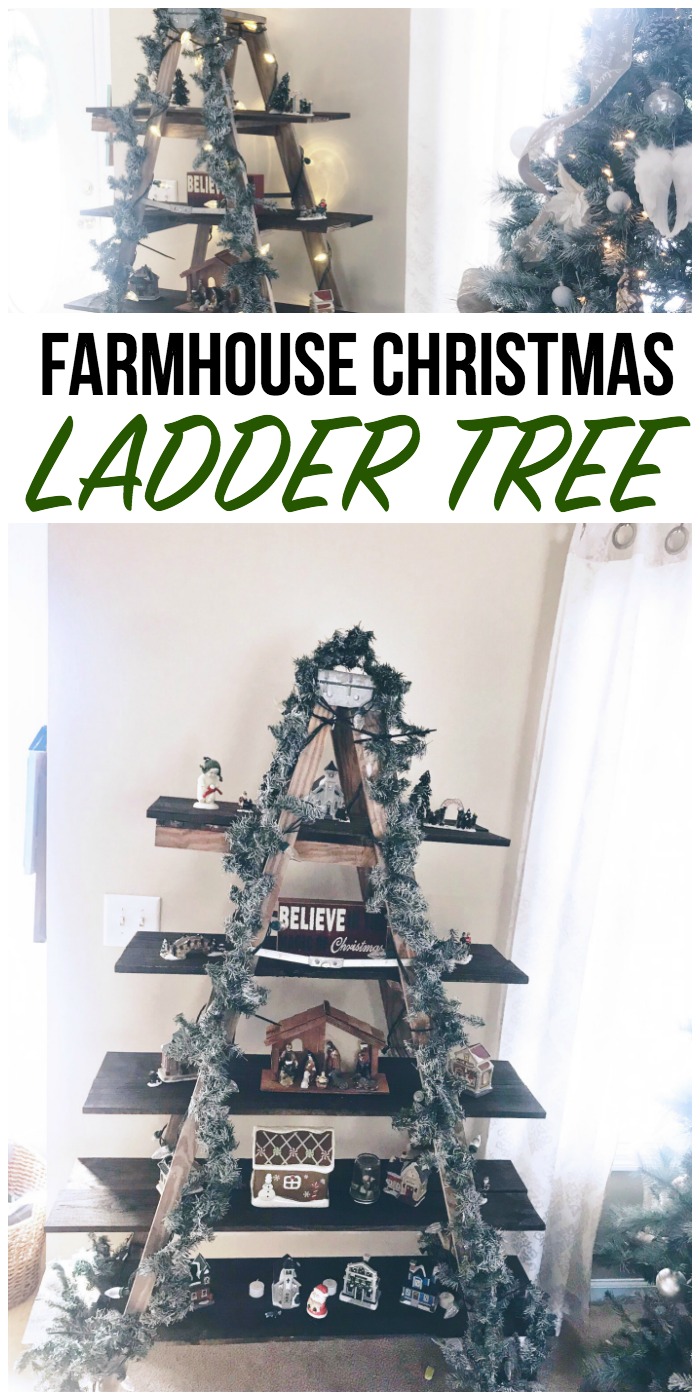
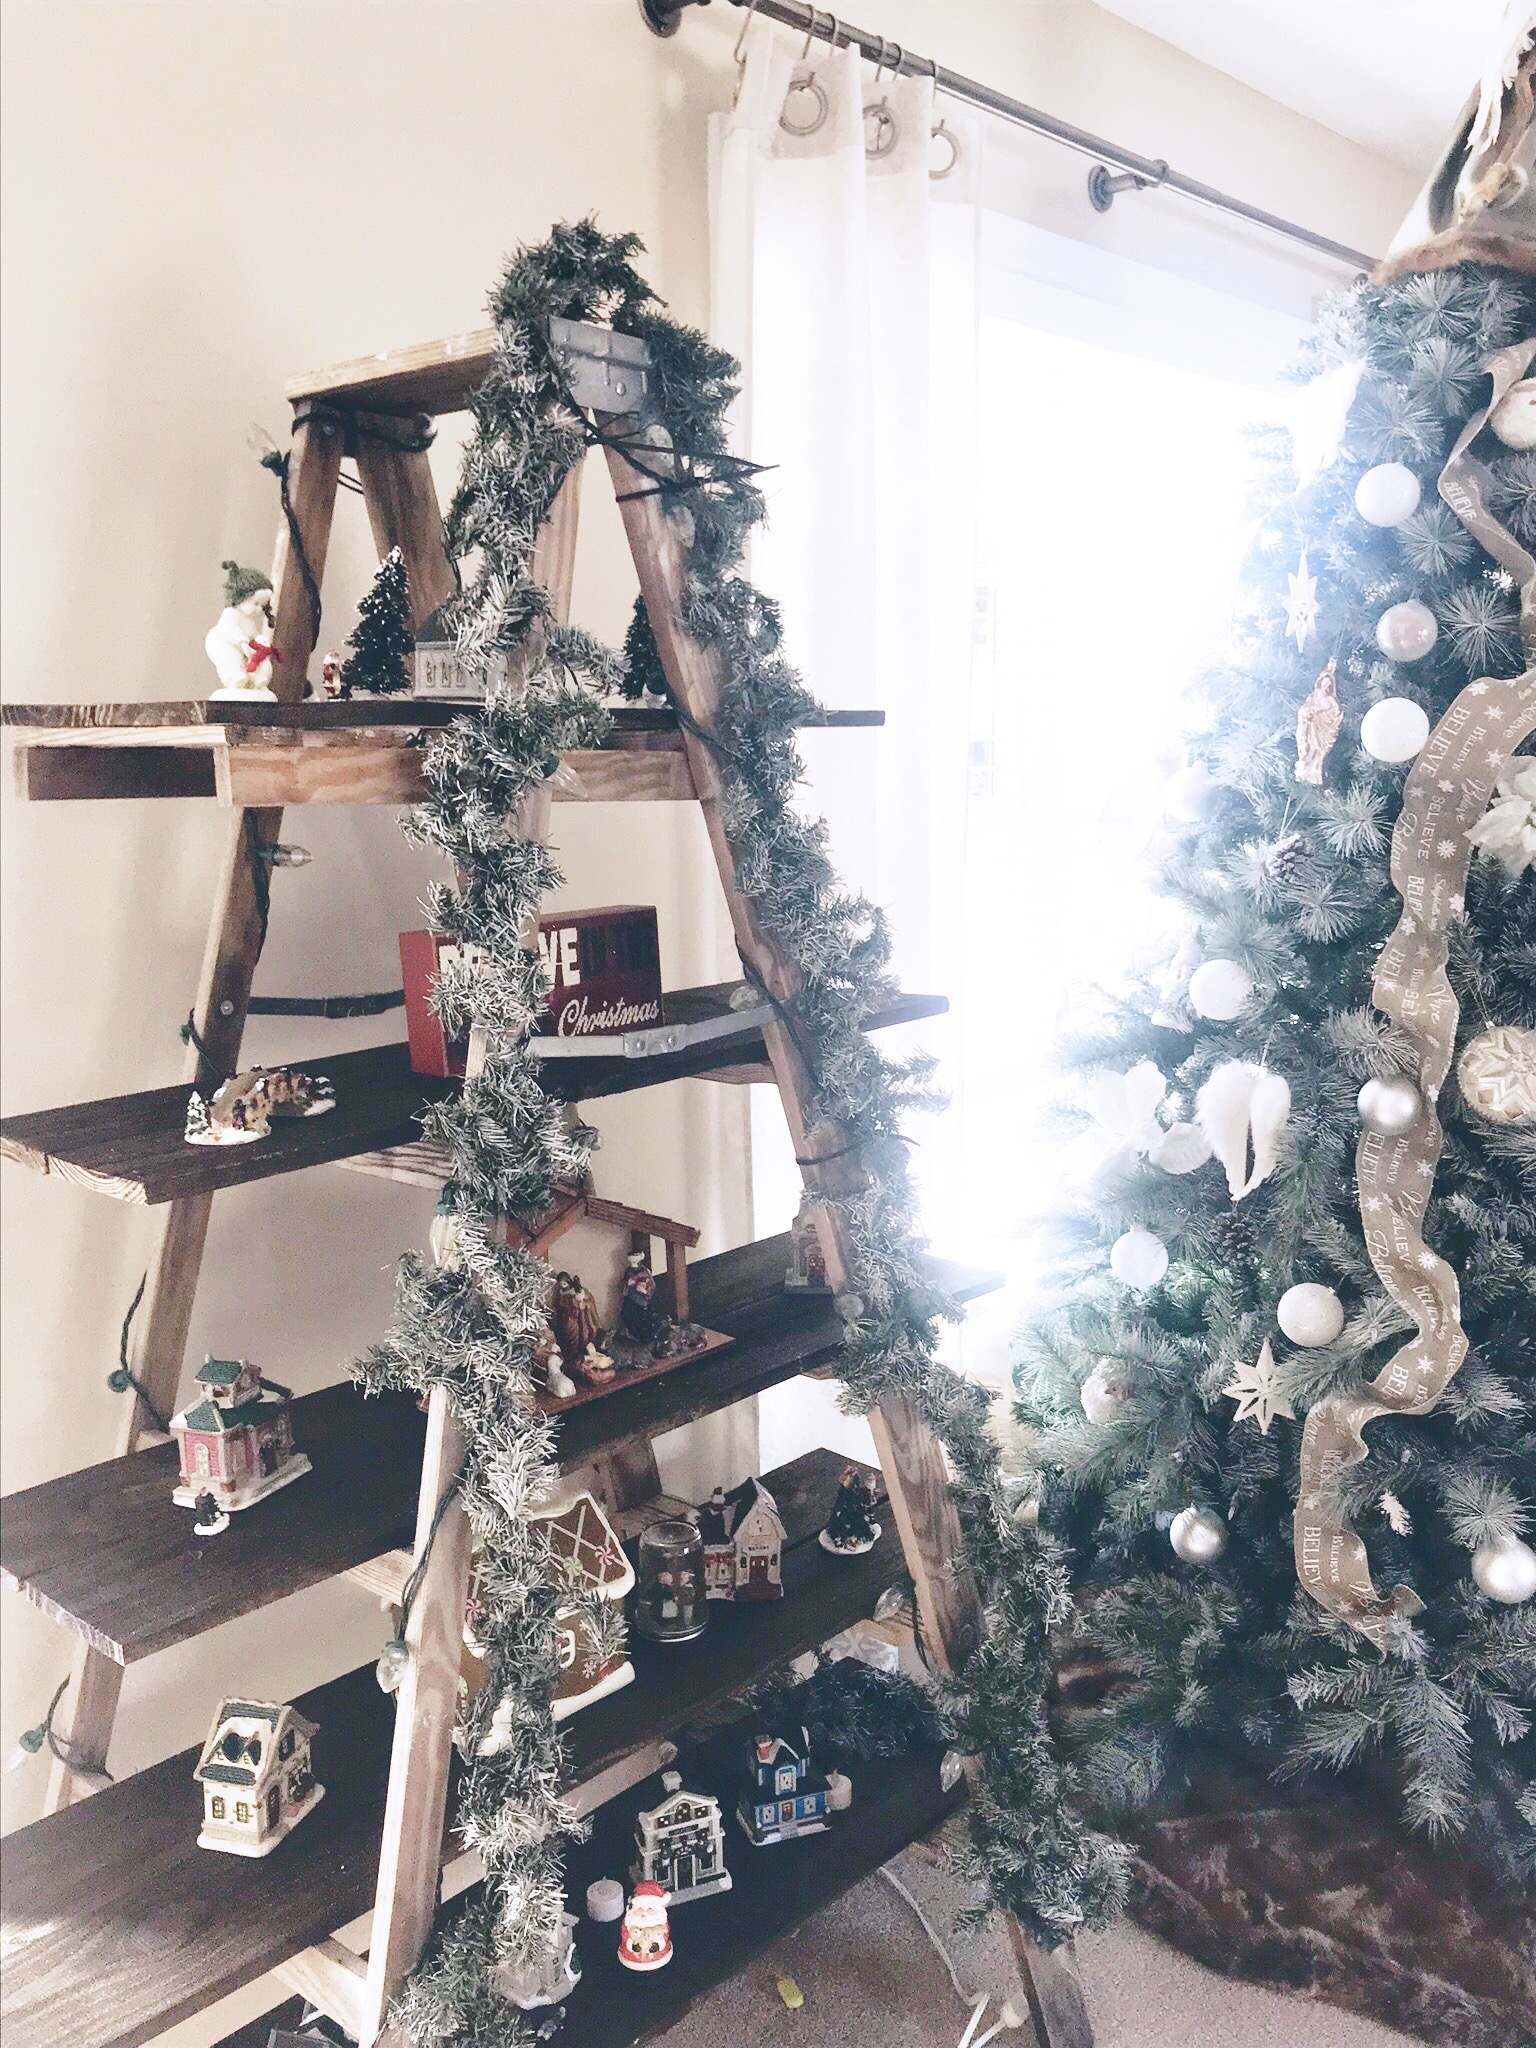
Last year, my husband showed me a picture of a simple Farmhouse christmas decoration that I Just had to make. It was a ladder tree, and it was the perfect farmhouse christmas tree to display our little Christmas village pieces, snow babies, and nativity sets.
I love having a Christmas village – well, it’s really more of a few inexpensive pieces that I’ve found at the Dollar Tree and Walmart (you know, toddlers) that the kids love to arrange at Christmas time, but I never seem to have the space to set them up. When I saw the ladder tree I went searching immediately for an old ladder that I could upcycle into the perfect farmhouse-style christmas decoration.
Sadly, my search for an old wood ladder turned up empty last year.
Over the summer, though, a neighbor posted that they were trashing their old wood ladder and that it would be out front for anyone that wanted it – I swiped that up immediately and stored it in the shed until I could complete my ladder tree project.
Farmhouse Christmas Decorations that are Actually Affordable
Farmhouse Christmas Ladder Tree
Making the ladder tree was a very simple farmhouse christmas project that only required a few additional items to complete.
In total, this only cost me $15 to make!! Of course, much required to build the ladder tree I already had or found for free so I encourage you to use a little creativity when it comes time to decorate.
How to Build a Farmhouse Christmas Ladder Tree
Once I had my wood ladder for the base of the tree I grabbed wood fence planks from Lowe’s Home Improvement. I chose fence planks for two reasons. One, they’re super cheap, only $1.76 each.
The fence pieces are only 5 1/2 inches wide so for each of my ladder tree shelves I needed to cut two pieces and place them side by side.
Since my top two shelves are only 28″ and 33″ long I was able to use one plank for each of those and cut four pieces. The bottoms shelves are 38″, 43″, and 48″ long so I needed two fence planks for each of those.
In total, I purchased 8 fence pieces to make my shelves for the ladder tree.
After measuring how wide I wanted my tree shelves to be at the bottom I worked up from there to decide on how wide each one should be. I ended up making each one 5″ longer than the previous. I was working with a smaller space or I may have jumped that up to 6″ more for each one – you can decided how long to make yours depending on the size of your ladder and space you will be using. Just make sure it is uniform.
Before cutting the fence pieces, I measured out my length on each one and marked it with a pencil.
Using a Jigsaw and a table to put my pieces of wood on, I cut each fence on the line I had drawn.
I gave each piece a quick sand with an electric sander on the edge to make sure there weren’t any jagged pieces before staining.
I chose a Jacobean stain for my ladder tree shelves – partly because it is what I had on hand in my garage and partly because I love the color and it matched the rest of my living room decor well.
Since my ladder was old and quite loved I sanded it down before bringing it into the house. I did not want to paint it because I loved the colors of the old wood that had been warn, but it did have some paint and other spots on it that needed to come off.
Once the ladder was in the house, and the shelves had been stained and dried overnight, I assembled the shelving. To assemble the shelves I did nothing other than place them across the ladder rungs!
The final piece to setting up the base of my ladder tree was to place a small block under each leg on ONE side of the ladder. On a typical ladder the rungs are not exactly even and one side will be slightly lower than the other (about an inch of a difference). Using a 1″ x 2″ wood piece, I cut a block to place under the legs in order to even it out.
Decorating the Ladder Tree
When it came time to complete my farmhouse christmas ladder tree, I again upcycled what I had!
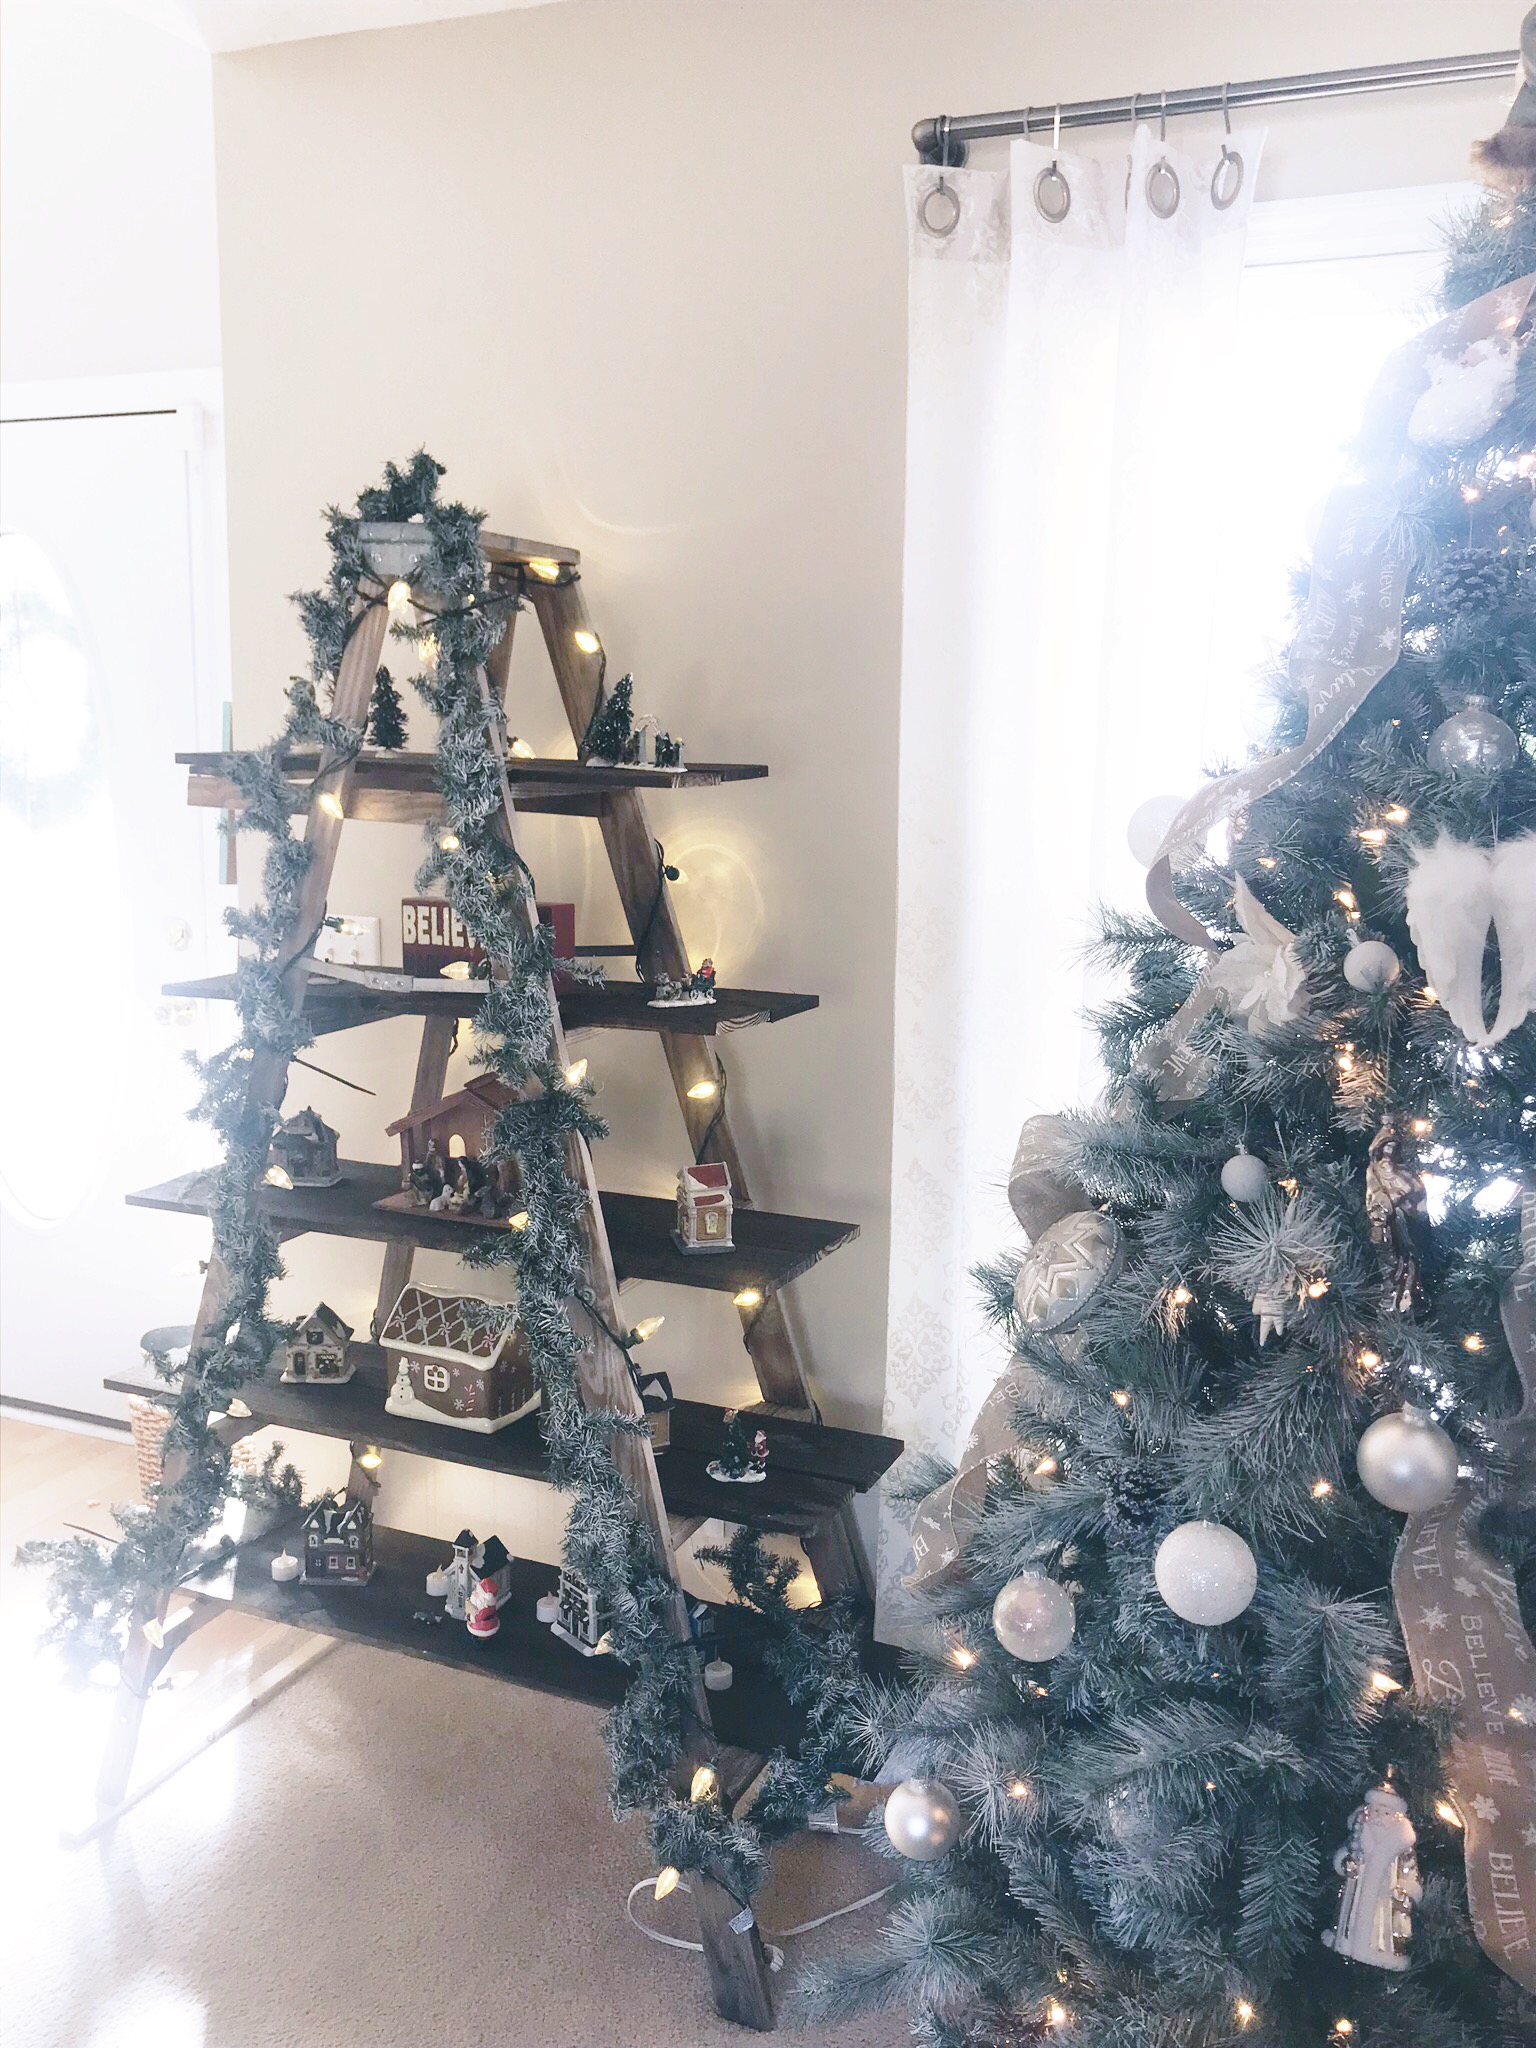
A set of C7 string lights that we no longer use outside gave it the perfect industrial look (you could use c9 lights as well since those are pretty standard), wrapped around the front. I finished it off my adding garland down the sides.
To give my garland that farmhouse christmas look I “flocked” it with a can of spray snow and attached it to the ladder tree with zip ties. By the way, zip ties are one of my go to MUST HAVES for decorating the house at Christmas time – they work beautifully for hanging garland on just about anything.
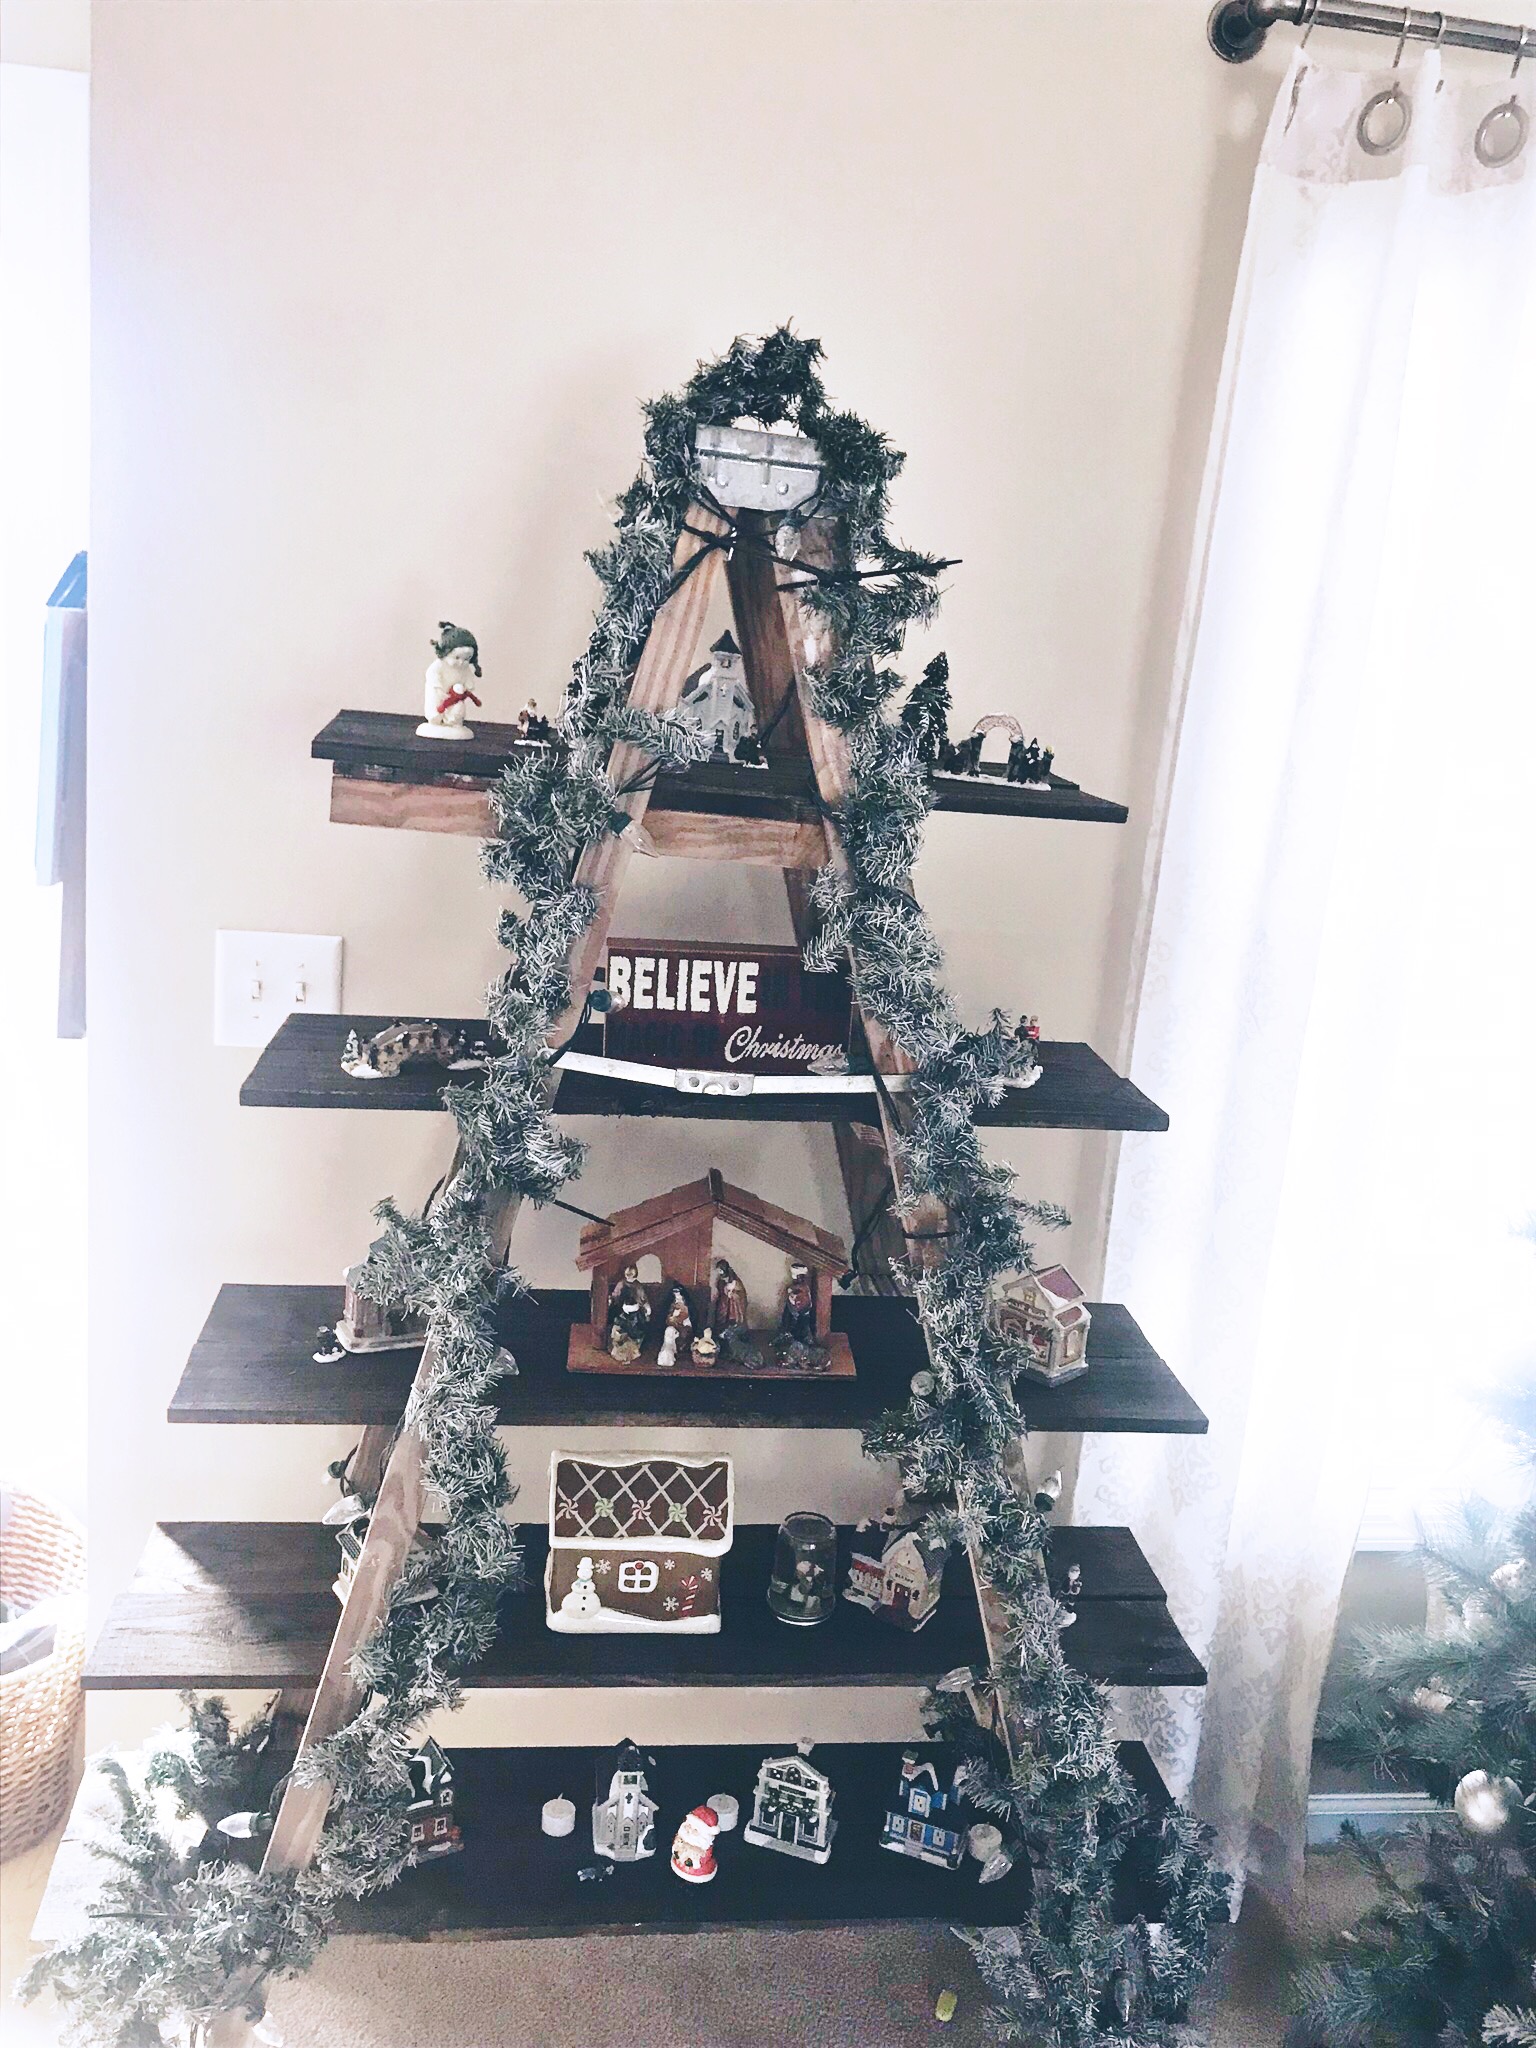
My pictures of the ladder tree are not “pinterest perfect” – I have a three year old and she is enjoying our village and new farmhouse christmas tree just as much as I am 😉




Leave a Reply